
Suchen Sie nach einer natürlichen Methode, Ihre Kopfhaut zu pflegen, Haarausfall zu bekämpfen, Ergrauen zu reduzieren und dickes, glänzendes Haar zu fördern? Kokosöl könnte das Wundermittel sein, nach dem Sie suchen. In Kombination mit speziellen Kräutern und Zutaten wird dieses vielseitige Öl zu einer wirkungsvollen Basis für Haarwasser und -behandlungen.
Dieser Leitfaden führt Sie durch 7 von Experten erprobte Haarpflegemittel mit Kokosnussöl – jedes ist auf ein bestimmtes Haarproblem zugeschnitten, von vorzeitigem Ergrauen bis hin zu Haarbruch – und das alles ohne Chemikalien oder teure Produkte.
Schritt 1: Wählen Sie das richtige Trägeröl
Für eine wirksame Haarkur ist die Basis – das sogenannte Trägeröl – entscheidend. Kokosöl ist aufgrund seiner tiefenwirksamen und kräftigenden Eigenschaften sehr zu empfehlen. Je nach Haartyp können Sie jedoch auch Folgendes in Betracht ziehen:
- Kokosöl (am vielseitigsten und nahrhaftesten)
- Arganöl (reich an Antioxidantien und Vitamin E)
- Mandelöl (leicht und ideal für feines Haar)
- Olivenöl (Tiefenpflege und Kopfhautheilung)
- Jojobaöl (gleicht fettige Kopfhaut aus)
- Sesamöl (stimuliert die Durchblutung und das Haarwachstum)
1. Mittel gegen graues Haar: Kokosnuss-, Amla- und Curryblattöl
Zutaten:
- ½ Tasse Kokosöl
- 1 Esslöffel getrocknete oder frische Amla-Stücke (oder Amla-Pulver)
- 10–15 frische Curryblätter
Verfahren:
- Kokosöl bei schwacher Flamme erhitzen.
- Amla und Curryblätter hinzufügen und kochen, bis die Amla dunkel und die Curryblätter knusprig werden.
- Vom Herd nehmen und abkühlen lassen.
- Abseihen und in einer sauberen Flasche aufbewahren.
Verwendung:
2–3 Mal pro Woche in die Kopfhaut einmassieren. Über Nacht oder mindestens 1 Stunde einwirken lassen, bevor Sie es waschen.
2. Haarausfall-Tonikum: Kokosöl und Zwiebeln
Zutaten:
- ½ Tasse Kokosöl
- 1 kleine Zwiebel (gerieben oder fein gehackt)
Verfahren:
- Kokosöl bei schwacher Flamme erhitzen.
- Zwiebel hinzufügen und goldbraun braten.
- Abkühlen lassen, abseihen und in Flaschen füllen.
Verwendung:
Auf die dünner werdenden Stellen auftragen, gründlich einmassieren und mehrere Stunden oder über Nacht einwirken lassen. Mit einem milden Shampoo ausspülen.
3. Booster für dickes Haar: Kokosnuss- und Rizinusölmischung
Zutaten:
- 2 Esslöffel Kokosöl
- 1 Esslöffel Rizinusöl
Verfahren:
- Erwärmen Sie beide Öle, bis sie lauwarm sind.
- Gut mischen und in die Kopfhaut und Haarwurzeln einmassieren.
- 1–2 Stunden oder über Nacht einwirken lassen, dann mit Shampoo ausspülen.
Vorteile:
Rizinusöl fördert dichtes Haarwachstum, während Kokosöl das Haar von der Wurzel bis zur Spitze stärkt.
4. Haarwuchsstimulator: Aloe Vera & Kokosöl
Zutaten:
- ½ Tasse Kokosöl
- 2–3 Esslöffel frisches Aloe Vera Gel
Verfahren:
- Kokosöl bei schwacher Flamme erhitzen.
- Aloe-Vera-Gel hinzufügen und kochen, bis es leicht gebräunt ist und kein Öl mehr spritzt.
- Abkühlen, abseihen und aufbewahren.
Verwendung:
Zweimal wöchentlich auf die Kopfhaut auftragen, einige Stunden oder über Nacht einwirken lassen und anschließend mit Shampoo auswaschen.
Vorteile:
Aloe Vera beruhigt gereizte Kopfhaut, fördert die Haarregeneration und speichert Feuchtigkeit für einen gesunden Glanz.
5. Anti-Schuppen-Behandlung: Bockshornklee & Kokosöl
Zutaten:
- ½ Tasse Kokosöl
- 1 Esslöffel Bockshornkleesamen (Methi)
Verfahren:
- Samen leicht zerdrücken (optional für einen stärkeren Aufguss).
- Mit Kokosöl erhitzen, bis die Samen goldbraun sind.
- Abkühlen, abseihen und aufbewahren.
Verwendung:
Auf zu Schuppen neigende Stellen auftragen, sanft einmassieren und einige Stunden oder über Nacht einwirken lassen.
Vorteile:
Bockshornklee bekämpft Pilze, stärkt die Haarwurzeln und stimuliert gesundes Haarwachstum.
6. Mittel gegen trockenes Haar: Kokosnuss- und Argan-/Vitamin-E-Öl
Zutaten:
- 2 Esslöffel Kokosöl
- 1 Esslöffel Arganöl (oder ein paar Tropfen Vitamin-E-Öl)
Verfahren:
- Erwärmen Sie die Öle, bis sie lauwarm sind.
- Mischen und auf trockenes Haar und Kopfhaut auftragen.
- Mindestens 1–2 Stunden oder über Nacht einwirken lassen.
- Mit sulfatfreiem Shampoo ausspülen.
Vorteile:
Tiefenwirksame Feuchtigkeitsversorgung durch Kokosnussöl, verbesserte Weichheit und Reparatur durch Argan oder Vitamin E.
7. Anti-Haarbruch-Behandlung: Spülung mit Kokosöl und Reiswasser
Schritte:
- Massieren Sie warmes Kokosöl in Ihre Kopfhaut und Ihr Haar ein.
- 1–2 Stunden ruhen lassen.
- Vor der Haarwäsche mit Wasser ausspülen (um überschüssiges Öl zu entfernen).
- Verwenden Sie nach der Haarwäsche Reiswasser als letzte Spülung.
- 5–10 Minuten einwirken lassen, dann erneut ausspülen oder für zusätzliche Kraft einwirken lassen.
Vorteile:
Kokosöl spendet Feuchtigkeit und beugt Haarbruch vor; Reiswasser – reich an Aminosäuren, Vitaminen und Mineralien – stärkt das Haar und verleiht ihm Glanz.
✨ Abschließende Gedanken
Von stumpfem Haar und Schuppen bis hin zu Haarausfall und vorzeitigem Ergrauen – Kokosöl ist in Kombination mit den richtigen natürlichen Inhaltsstoffen ein echter Kraftspender. Diese 7 DIY-Mischungen versprechen nicht nur schöneres Haar – sie liefern es auch – natürlich und preiswert.
Möchten Sie weitere DIY-Haarpflegetipps mit Küchenzutaten? Sagen Sie einfach Bescheid – ich helfe Ihnen gerne dabei, eine komplette natürliche Haarpflegeserie zusammenzustellen oder druckbare Rezeptkarten zu gestalten!
What Body Shape Are You? Easy Steps to Identify It
When it comes to fashion, fitness, and self-confidence, understanding your body shape can make a significant difference. Knowing your body type helps you choose clothing that flatters your figure, understand how weight is distributed, and even set realistic fitness goals. But for many, the question remains: What body shape am I, and how do I find out?
Here are some easy steps to help you identify your body shape and embrace it with confidence.
Why Body Shape Matters
Body shape is not about size or weight—it’s about proportions. Two people may weigh the same, but their figures may look completely different. By recognizing your body shape, you can:
- Pick clothes that highlight your best features.
- Feel more comfortable and confident in your appearance.
- Gain insights into fitness strategies tailored to your frame.
The Most Common Body Shapes
Experts typically categorize female body shapes into five main types:
- Hourglass – Shoulders and hips are balanced with a clearly defined waist.
- Pear (Triangle) – Hips are wider than shoulders, often with a smaller waist.
- Apple (Round) – Broader upper body with weight carried around the midsection.
- Rectangle (Athletic) – Shoulders, waist, and hips are fairly uniform, with little waist definition.
- Inverted Triangle – Shoulders are broader than hips, creating a V-like silhouette.
Easy Steps to Identify Your Body Shape
- Take Your Measurements
- Measure your shoulders, bust, waist, and hips with a flexible tape measure.
- Write the numbers down for comparison.
- Compare Proportions
- Hourglass: Bust and hips are roughly the same, waist is significantly smaller.
- Pear: Hips are the largest measurement.
- Apple: Waist measurement is larger than bust or hips.
- Rectangle: All measurements are fairly similar, with little waist curve.
- Inverted Triangle: Shoulders/bust are larger than hips.
- Check in the Mirror
Sometimes, simply standing in front of a mirror in fitted clothing (like leggings and a tank top) makes it easier to see your natural outline.
Embrace Your Shape
Once you identify your body shape, the goal is not to change it but to work with it. Fashion stylists recommend dressing to highlight your best assets:
- Hourglass shapes shine in belted dresses and fitted tops.
- Pear shapes benefit from A-line skirts and structured tops.
- Apple shapes often feel great in empire waist dresses or V-neck tops.
- Rectangles look stunning in layered outfits that create curves.
- Inverted triangles can balance their look with wide-leg pants or flowy skirts.
The Takeaway
Your body shape is uniquely yours—it’s not about perfection, but about proportion. By understanding your natural silhouette, you can make smarter wardrobe choices, boost your self-esteem, and celebrate the body you have.
✨ So, grab a measuring tape, take a few minutes, and discover what body shape you are—it might change the way you see yourself in the mirror.
6 Coffee Eye Masks to Get Rid of Dark Circles | Under Eye Wrinkles | Eye bags & Puffy Eyes

Nobody can deny that dark circles make your face look tired and dull. Factors like work culture, stress, night shifts, and lifestyle choices contribute to this common problem. Under-eye wrinkles, dark circles, puffiness, and bags are now widespread issues, and most people prefer not to deal with them. You might have tried concealers or under-eye creams and gels, but the stubborn dark circles seem unyielding. Fortunately, there’s one magical ingredient that offers a long-term solution: Coffee!
Here are 6 DIY coffee eye masks/eye gels to help eliminate dark circles and other under-eye issues.
1. Coffee and Honey Eye Mask to Remove Dark Circles
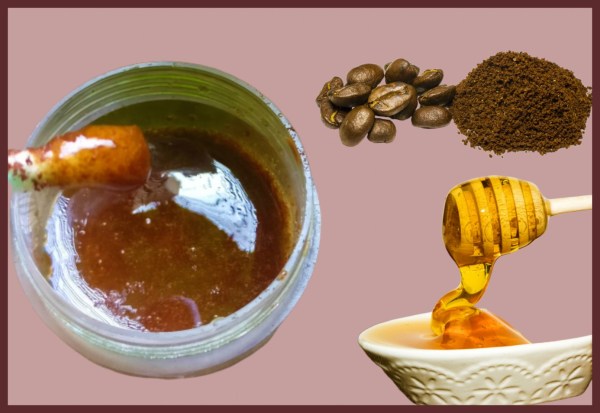
Ingredients:
- Coffee Powder (1 teaspoon)
- Honey (1 teaspoon)
- Turmeric powder (a pinch)
How to make and use:
- Mix 1 teaspoon of coffee powder, 1 teaspoon of honey, and a pinch of turmeric powder.
- Make a smooth coffee paste.
- Apply the mask around your eyes and leave it on for 15 minutes.
- Rinse off with cold water and relax.
The natural bleaching agent in coffee helps to lighten pigmentation and reduce discoloration. Honey hydrates the skin and helps fade dark circles. Use this mask daily for the best results.
2. Coffee and Aloe Vera Under-Eye Gel to Remove Wrinkles
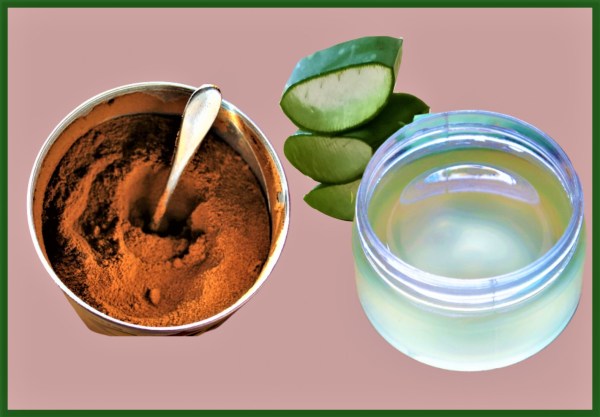
Ingredients:
- Coffee (1 teaspoon)
- Aloe Vera Gel (1 teaspoon)
- Vitamin E oil (a few drops)
How to make and use:
- Mix 1 teaspoon of coffee powder and 1 teaspoon of aloe vera gel. Add a few drops of vitamin E oil and mix well.
- Dab the gel gently around your eyes using your ring finger (which applies the least pressure).
- Apply it before bed and leave it overnight.
The combination of coffee and aloe vera gel hydrates the skin, boosts elasticity, and prevents wrinkles. It helps keep the skin smooth and erases fine lines.
3. Coffee and Coconut Oil Serum to Treat Crow’s Feet
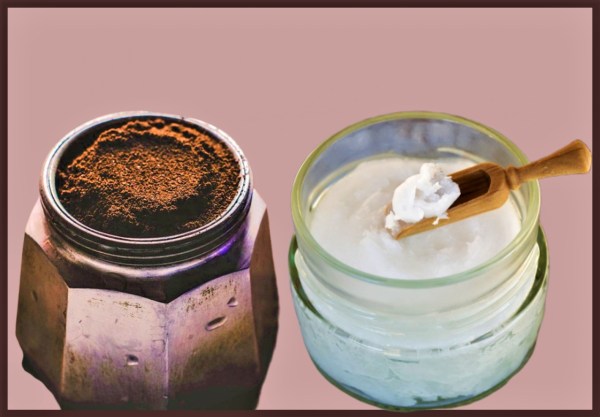
Ingredients:
- Coconut Oil (1 teaspoon)
- Coffee (1 teaspoon)
How to make and use:
- Mix 1 teaspoon of coffee and 1 teaspoon of coconut oil to make a smooth under-eye serum.
- Apply the serum gently around your eyes and massage it in.
- Leave it overnight.
This serum helps prevent pigmentation and treats fine lines. It’s especially effective for crow’s feet and reduces dark circles.
4. Coffee and Shea Butter Under-Eye Cream
Ingredients:
- Coffee (½ teaspoon)
- Shea Butter (1 teaspoon)
- Rosehip Oil (a few drops)
How to make and use:
- Mix 1 teaspoon of shea butter, ½ teaspoon of coffee powder, and a few drops of rosehip oil to make a smooth under-eye cream.
- Apply it gently around your eyes.
This cream hydrates the skin and helps prevent wrinkles. It also makes your eyes look brighter and more refreshed.
5. Coffee Ice Cubes to Treat Puffy Eyes
Ingredients:
- 1 teaspoon of Coffee Powder
- 4 tablespoons of Water
How to make and use:
- Mix the coffee powder with water and pour it into an ice cube tray. Freeze for 5-6 hours.
- Once frozen, wrap one ice cube in a thin cloth and dab it gently around your eyes.
The cooling effect reduces puffiness immediately, leaving your eyes feeling refreshed and less swollen.
6. Coffee and Rosewater Eye Pads to Reduce Under-Eye Bags
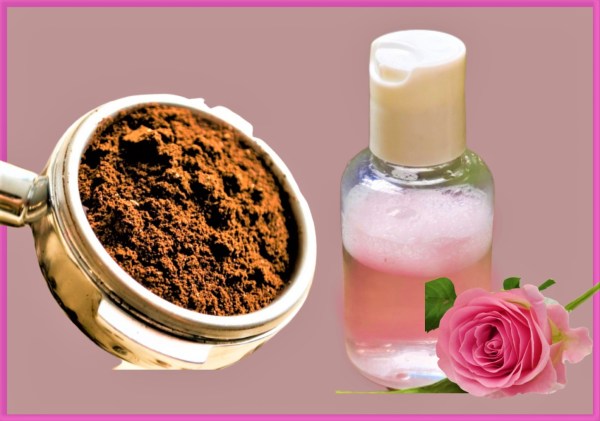
Ingredients:
- Coffee Powder (1 teaspoon)
- Rosewater (3 tablespoons)
- Eye Pads
How to make and use:
- Mix 1 teaspoon of coffee powder with 3 tablespoons of rosewater.
- Dip eye pads in the mixture and place them under your eyes.
- Let them sit for 10 minutes, then remove.
This treatment helps reduce under-eye bags and puffiness, while rosewater brightens the eyes. Coffee eye pads lighten dark circles and reduce swelling.
These coffee-based eye treatments are simple to make and offer a natural solution to dark circles, wrinkles, puffiness, and under-eye bags. Try them out and restore the health and appearance of your under-eye area!
Red Onion for Hair Growth: A Natural Remedy for Thinning Hair
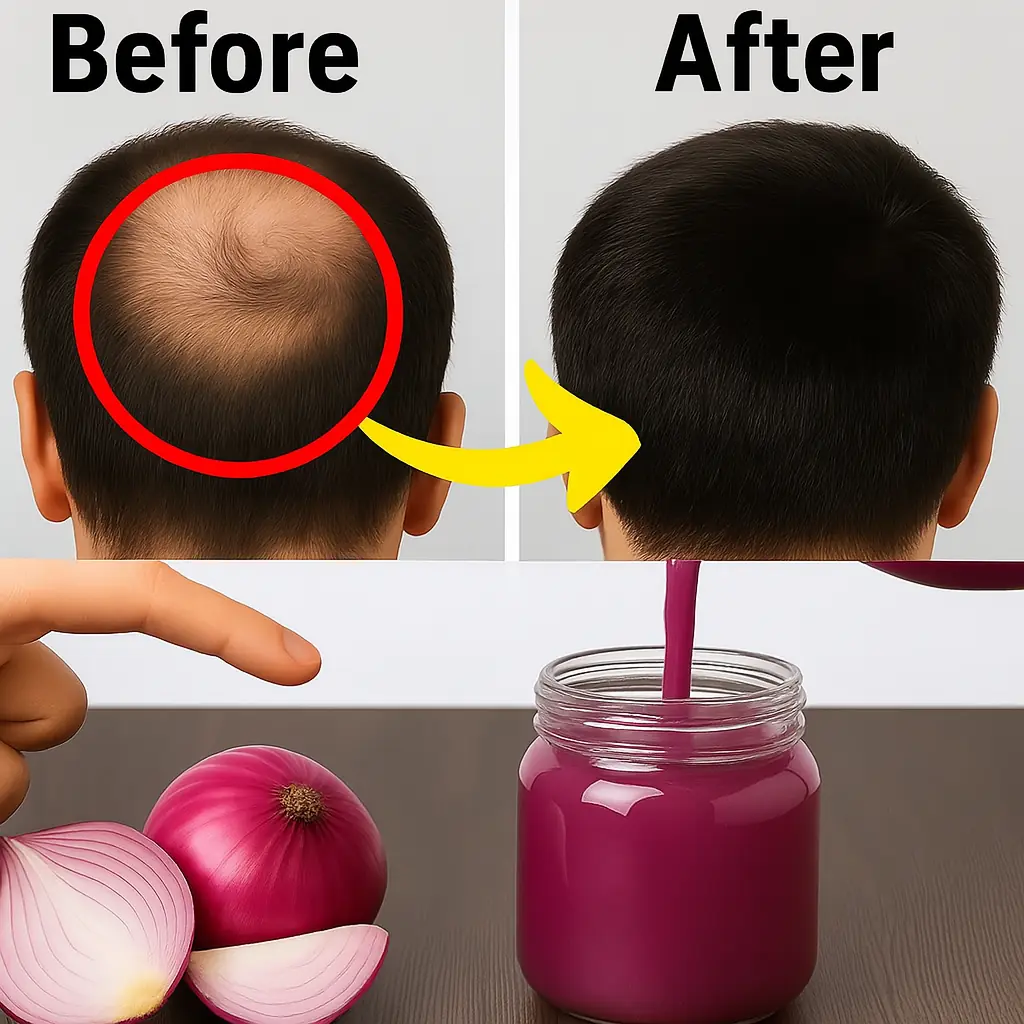
If you’re finding more hair on your brush than you’d like and prefer natural solutions, red onion might be worth a closer look. Long used in traditional remedies, this humble kitchen ingredient is gaining attention for its potential to support scalp health and encourage hair growth — without the cost or chemicals of commercial treatments. Let’s explore what science says, how red onion might help, and how you can safely try it at home.
What Makes Red Onion Useful for Hair?
Red onion (Allium cepa) is rich in sulfur compounds, antioxidants like quercetin, and vitamins such as B6 and C — all of which are believed to support hair and scalp health. In traditional medicine, especially in regions like India and the Middle East, onion juice has been used to stimulate hair growth and reduce breakage.
How Red Onion Might Support Hair Growth
Hair thinning can result from stress, nutrition deficiencies, inflammation, or scalp imbalances. Red onion’s natural properties may help by:
- Improving scalp circulation
- Reducing inflammation
- Strengthening hair follicles
- Creating a healthier scalp environment
While red onion is not a miracle cure, early studies and anecdotal evidence suggest it could support hair growth when used consistently and safely.
4 Potential Benefits of Red Onion for Hair
- Sulfur to Strengthen Hair
Sulfur is a vital component of keratin — the protein that forms hair. Red onion is naturally high in sulfur, which may help reinforce hair strands and reduce breakage. - May Stimulate Blood Flow to Follicles
Applying onion juice to the scalp may help boost circulation, delivering more nutrients to hair roots. A 2014 study published in the Journal of Dermatological Treatment found that onion juice applied twice daily encouraged regrowth in individuals with patchy hair loss. - Antioxidants May Calm Scalp Inflammation
Quercetin, a powerful antioxidant in red onions, may help protect the scalp from oxidative stress and inflammation, both of which can affect hair growth. - Natural Antimicrobial Effects
Some compounds in red onion may fight bacteria or fungi that contribute to scalp issues like dandruff, which can interfere with hair health.
How to Use Red Onion Juice for Hair at Home
You’ll need:
- 1–2 medium red onions (peeled)
- Optional: 1 tsp honey or a few drops of coconut oil (to reduce odor and boost moisture)
Steps:
- Chop onions and blend until smooth.
- Strain the pulp using a cheesecloth or fine strainer to extract the juice.
- Mix in honey or oil if desired.
- Apply juice to your scalp, focusing on thinning areas.
- Gently massage for 5 minutes and leave on for 20–30 minutes.
- Rinse with lukewarm water and mild shampoo.
- Repeat 2–3 times a week for at least 6–8 weeks.
Tips for success:
- Use fresh onions for stronger results.
- Always do a patch test before full application.
- Store leftover juice in the fridge for up to 3 days.
- Use a clarifying shampoo if the smell lingers.
Safety Tips to Keep in Mind
- Skin sensitivity: Some may experience redness or irritation. Dilute onion juice with water or a carrier oil if needed.
- Allergies: Discontinue use if you experience itching, swelling, or rash.
- Eyes: Avoid contact with eyes. Rinse immediately if exposure occurs.
- Medical conditions: Hair loss due to health issues (like thyroid or hormonal imbalances) may not improve with onion juice. Consult a doctor if symptoms persist.
Making It a Habit: Red Onion in Your Routine
- Schedule time for onion treatments 2–3 times a week
- Combine with nourishing oils like castor or coconut
- Wear a shower cap while applying to avoid drips
- Take progress photos weekly
- Support results with a nutrient-rich diet — including eggs, leafy greens, and nuts
Final Thoughts: A Traditional Remedy With Modern Interest
Red onion juice isn’t a guaranteed fix for hair loss — but it’s a time-tested, affordable method many people find worth trying. Thanks to its sulfur content, antioxidants, and antimicrobial benefits, it may support scalp health and improve hair resilience when used with care.
Disclaimer: This article is for informational purposes only and should not replace professional medical advice. Consult your healthcare provider if you’re experiencing persistent or unexplained hair loss.